Mr. Brault
Follow these tutorials
Photoshop 02: Feathering collage
Purpose
In this tutorial you will learn to create a high-quality photo collage.
By the end of this project you should have an understanding of:
- How to create add images to Photoshop
- How to feather images
- How to use the Lasso tool
- How to manage image sizes to fill a canvas
Examples of Student Work:


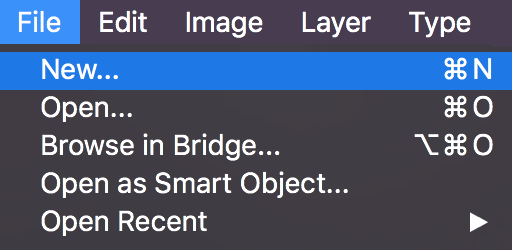
Step 1: Create your document
Open Photoshop and create a new canvas by pressing CTRL + N or go to File > New.
Set your canvas to 8.5 x 11 inches with a resolution of 300 pixels per inch.
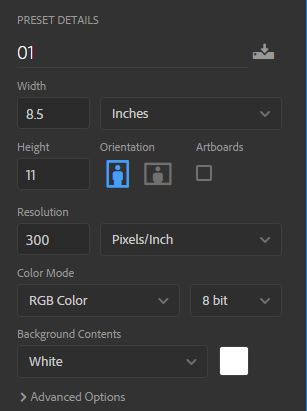
Click Create when your settings are configured correctly.
Step 2: Add your images
Find a group of your photos that you like. You will need 10-20 photos in all.
Select one photo and drag it onto the Photoshop canvas and press Enter.
Step 3: Position your images
In the sidebar on the left click on the Move Tool. 
Move the picture to the location where you would like it to be.
Adjust the size of the image by performing a Transform. Click on the image with the Move Tool and go to Edit > Transform > Scale then drag a side or corner. You can maintain the dimensions of the image by holding shift while dragging one of the handles.

Press enter to apply the transform.
Step 4: Feathering
In the toolbar on the left select the Lasso Tool. 
Click and hold to drag a circle around the portion of the image that you would like to keep.
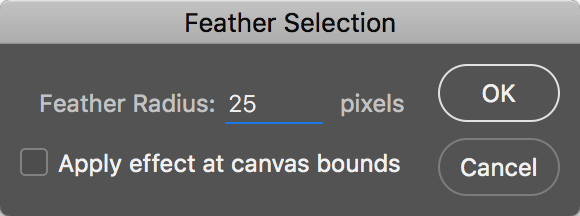
Go to Select > Modify > Feather and set the Feather Radius to whatever works for your image.
25 pixels is a good starting point. If that doesn't work for your image you can always undo.
Step 5: Remove excess
Now select the inverse by going to Select > Inverse to select everything except what you drew the circle around.
Press delete and the feathered area will disappear leaving a smooth transition between the two images.
Add images to cover your canvas.
Step 6: Repeat
Repeat steps 2 through 5 to add images. Your entire canvas should be covered.
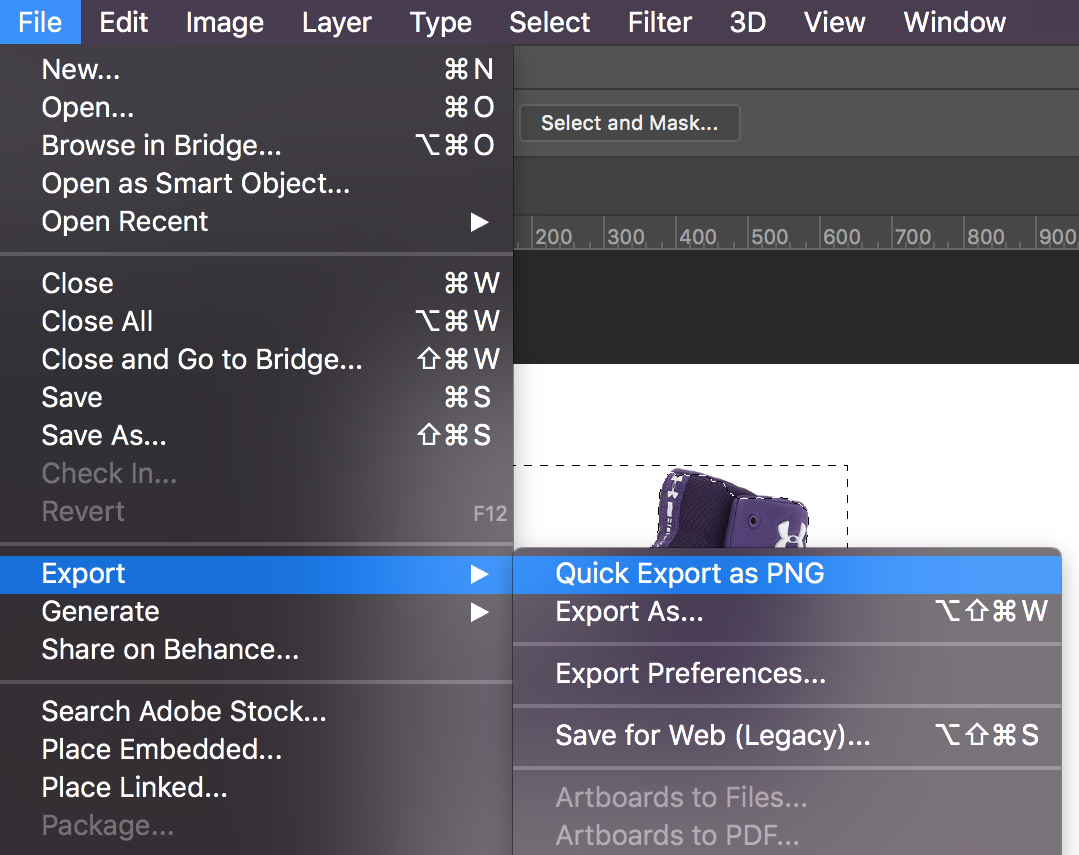
Step 7: Export
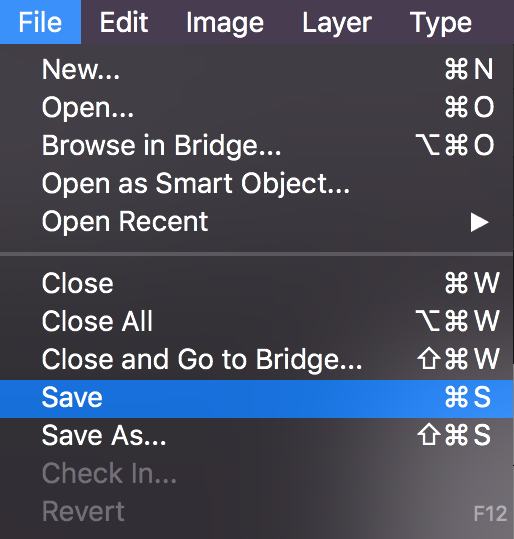
Save your project by going to File > Save. Give it the name 02.psd.
Export the image as a PNG by going to the menu item File > Export > Quick Export as PNG. Give it the name 02.png.