Mr. Brault
Follow these tutorials
Photoshop 04: Human-Animal Hybrid
Purpose
In this tutorial you will combine human features with those of an animal to make a hybrid creature.
By the end of this project you should have an understanding of:
- How to use the zoom tool
- How to adjust opacity
- How to warp images
Examples of Student Work:


Step 1: Open project
Find and save two images: one of your photos of a person up close and one picture of an animal from the internet. It will work best to have the animal and person looking the same direction.
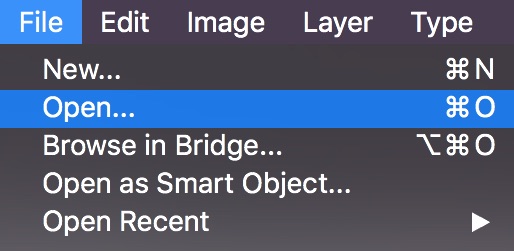
Open both images in Photoshop.
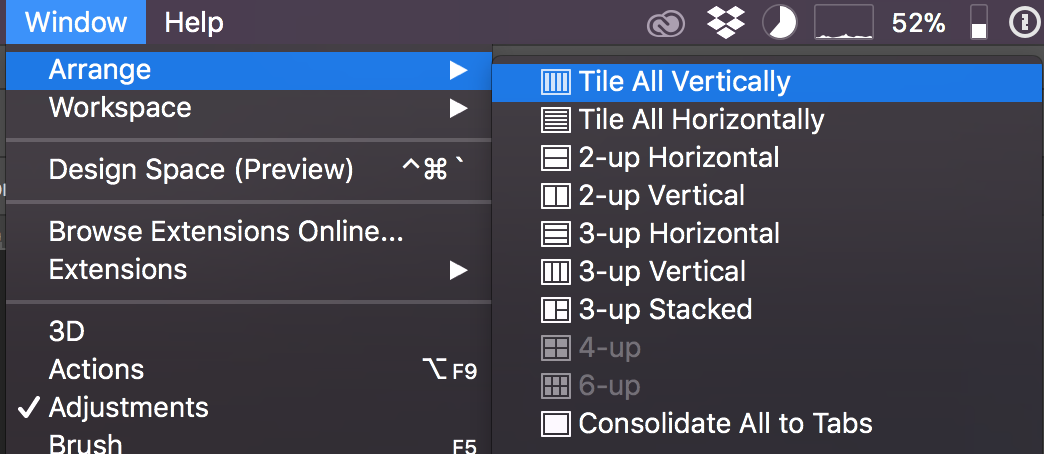
Go to the menu Window > Arange > Tile All Vertically to view all of your images at once.
Step 2: Combine images
Select the Lasso Tool  and lasso around the face of the human.

Select the Move Tool  and drag the face you just selected onto the animal image.
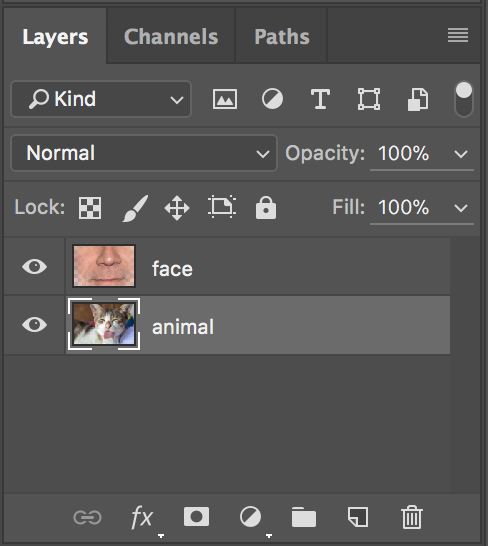
In the layers panel, name your layers face and animal.
Note: You may need to unlock  the background layer to be able to rename it.
Step 3: Zoom
You may be saying: "My face is way too big (or small)! What do I do?"
Try zooming out by slecting the Zoom Tool  and then in the settings bar at the top, click the magnifying glass with the minus (-) sign.

Now click somewhere on the image and it will zoom out.

If you need to zoom back in, you can do so by holding down the ALT key and scrolling up. To zoom out, hold down the ALT key and scroll down.
Step 4: Resize/position
Transform your face layer to make it match up with the size of the animal head. Press enter to apply the transform.
Now adjust the opacity by dragging the bar to the right until you can see both the face and the animal's head behind it.
Now do another transform but this time, hold down CTRL while you drag the corners. This will skew your image to allow you to better position the face on the animal.
Before applying the transform, right-click on the image and select Warp. Line up the face with the animal, using the eyes as a guide.
Press enter to apply the transform and raise the opacity back up to 100%.
Step 5: Erase
Now get the Eraser  and select the Soft Round Brush.
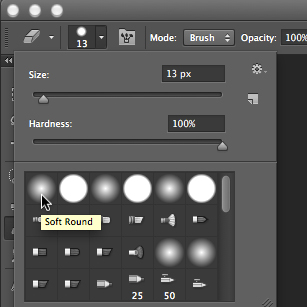
Start erasing the parts of your face that you don't need. Leave the eyes, as well as the nose or mouth or both.
Blend your facial features with the background so it looks realistic.
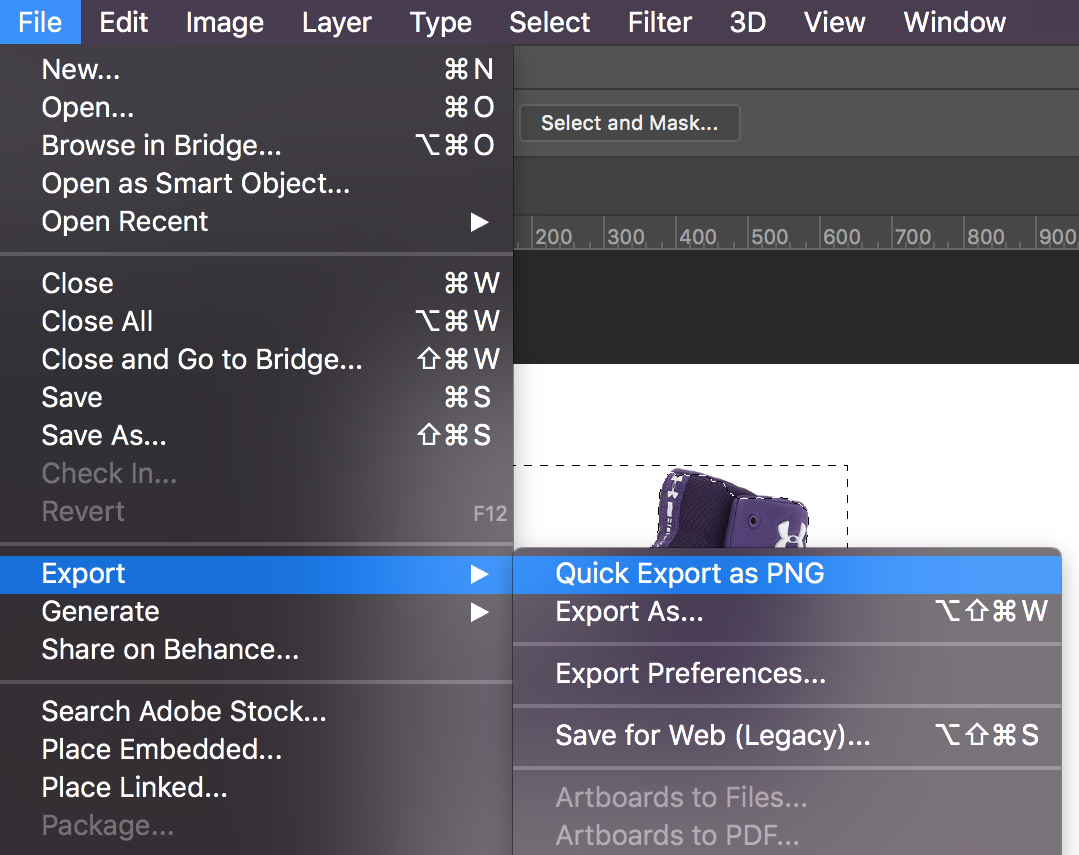
Step 6: Export and upload
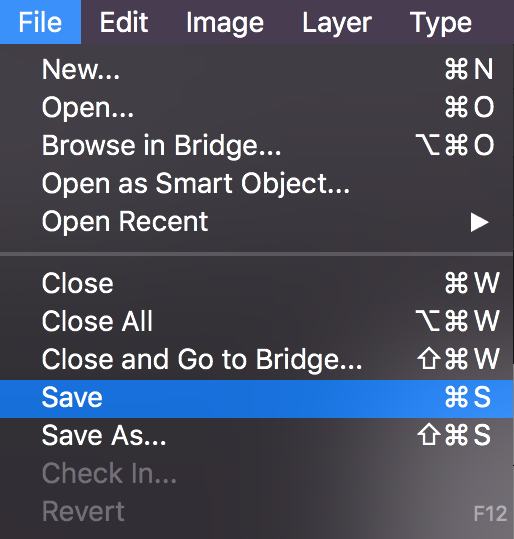
Save your project by going to File > Save as. Give it the name 04.psd.
Export the image as a PNG by going to the menu item File > Export > Quick Export as PNG. Give it the name 04.png.