Mr. Brault
Follow these tutorials
Photoshop 01: Tools
Purpose
In this tutorial you will learn some basic but very important tools that are used in many if not all Photoshop projects that we will complete.
By the end of this project you should have an understanding of:
- How to create a new document in Photoshop
- How to add an image from the internet to Photoshop
- How to move objects around in Photoshop with the Move tool
- How to select an area with the Quick Selection tool
- How to save a Photoshop Document
- How to export as a PNG
Step 1: Create your document
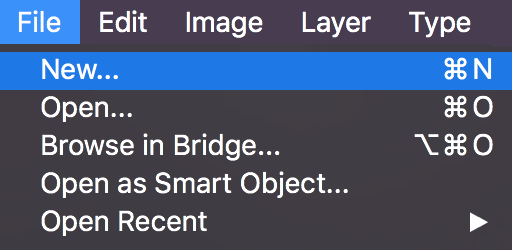
Open Photoshop and create a new canvas by pressing CTRL + N or go to File > New.
Set your canvas to 8.5 x 11 inches with a resolution of 300 pixels per inch.
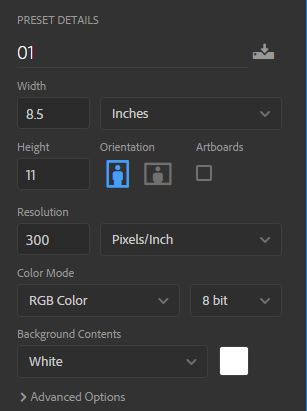
Click Create when your settings are configured correctly.
Step 2: Find an image
Open Chrome and do a Google image search for to find a shoe that you like.
When you find the one you want, right click and select copy image.
Switch back to Photoshop and paste your image by pressing CTRL + V or go to Edit > Paste.
Step 3: Move tool
In the toolbar on the left, click on the Move Tool. 
Move the picture to the location where you would like it to be.
Adjust the size of the shoe image by performing a Transform. Click on the image with the Move Tool and the pressing CTRL + T and dragging a side or corner.
You can maintain the dimensions of the image by holding shift while dragging one of the handles.
Press enter to apply the transform.
Step 4: Delete the background
Quickly select the Quick Select Tool. 
Drag the tool over the background to select what you want to remove.
Press delete or backspace.
Step 5: Export and upload
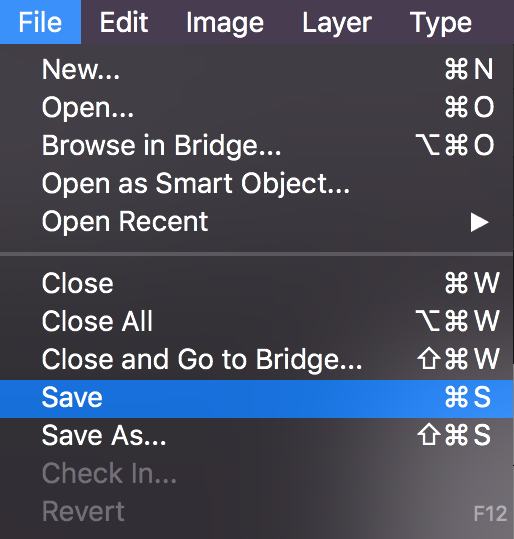
Save your project by pressing CTRL + S or go to File > Save. Give it the name 01.psd.
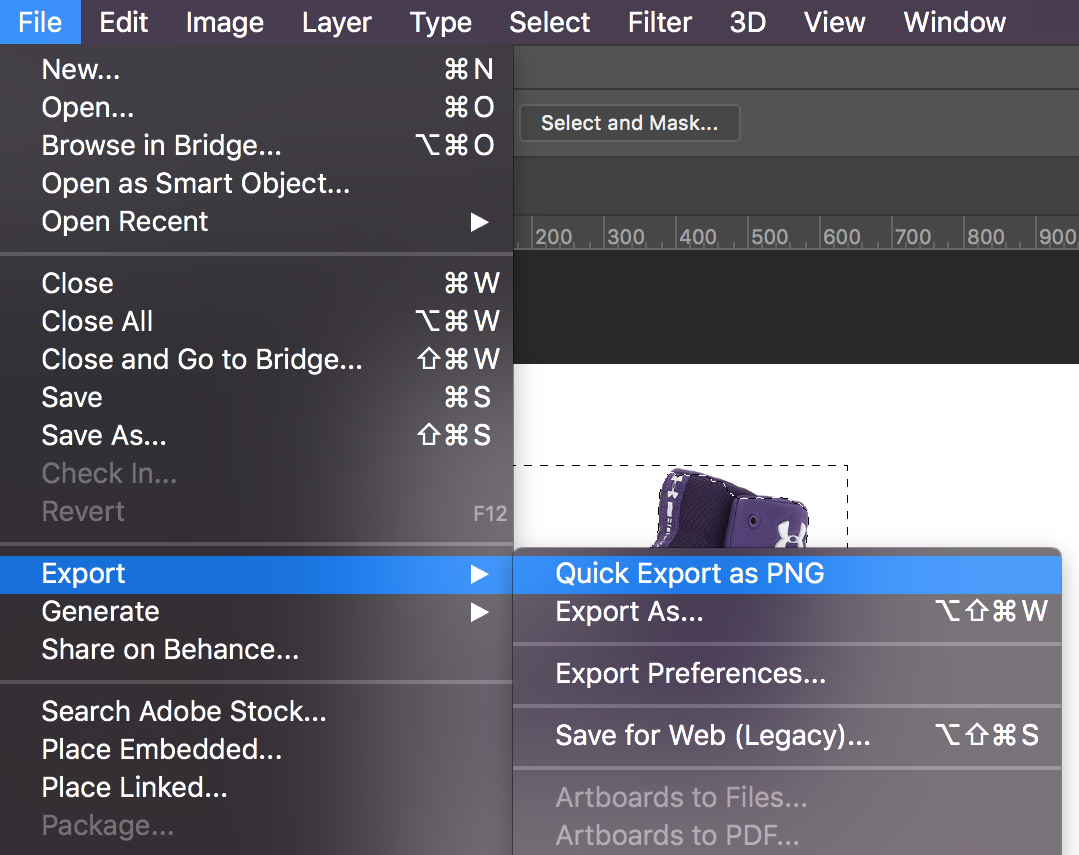
Export the image as a PNG by going to the menu item File > Export > Quick Export as PNG. Give it the name 01.png.