Mr. Brault
Follow these tutorials
Photoshop 03: Cartoon face
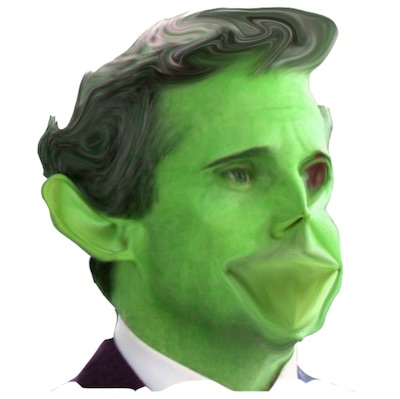
Examples of Student Work:


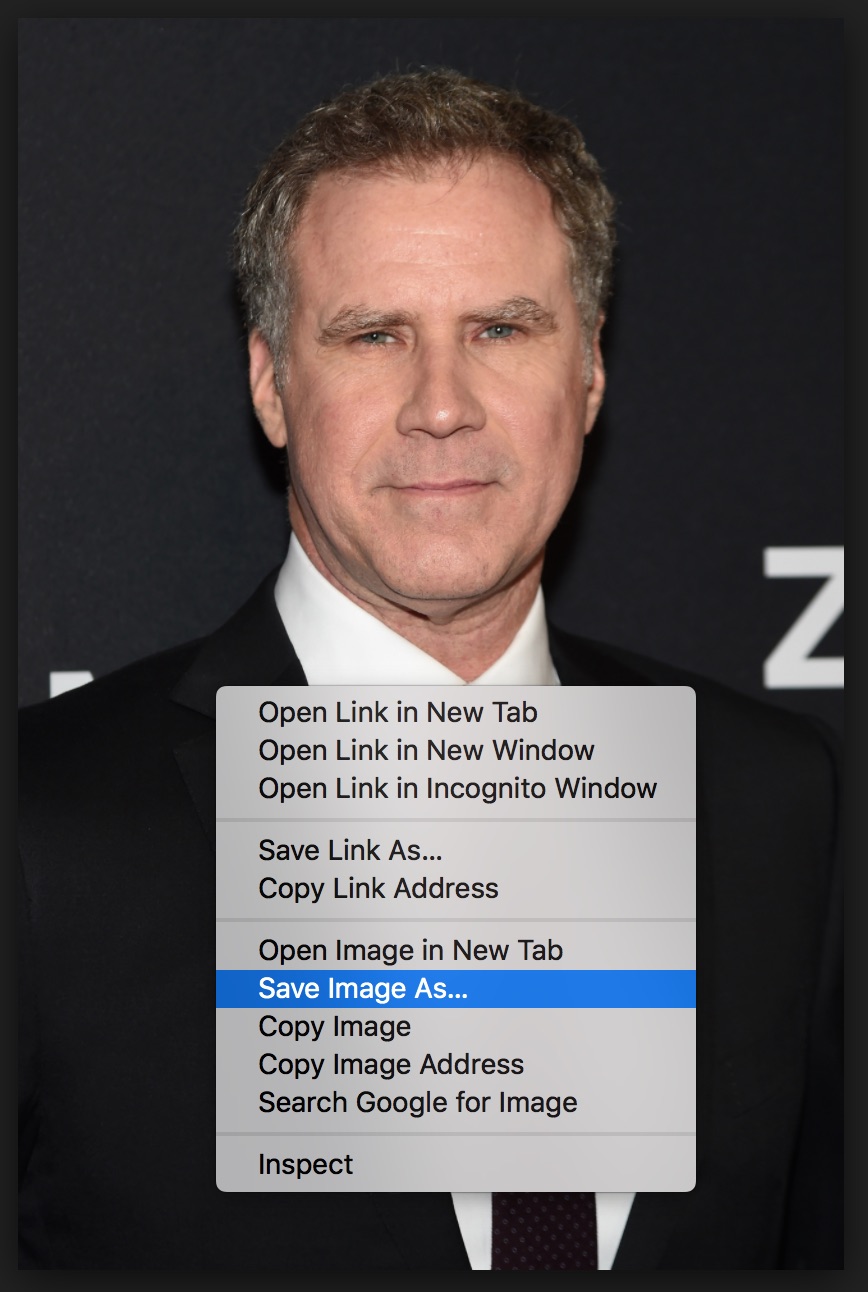
Step 1: Find an image
Open Chrome and do a Google image search for your favorite celebrity. When you find an image you want, right click and select save image as and save in your Downloads folder.
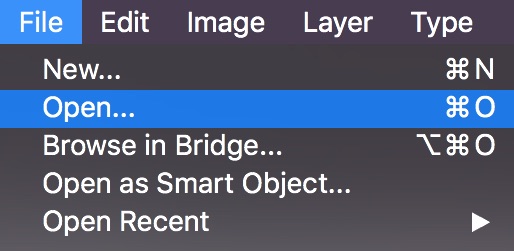
Switch back to Photoshop and open your image by going to File > Open and select your image from the Downloads folder.
Step 2: Clean up image
In your toolbar click on the Crop Tool. 
Drag the edges to select the area you want to keep and press enter to crop your image. You only need the head and shoulders remaining in the image.
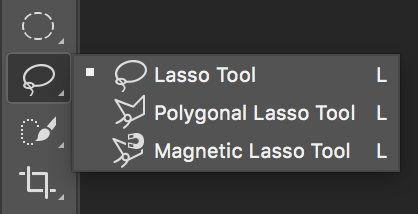
From the toolbar click and hold on the Lasso and from the pop-up menu select the Magnetic Lasso. 
Trace around the face and shoulders. Click to close the selection shape.

Step 3: Layers
Right-click on the face and shoulders you selected and select Layer via Copy.

In the layers panel you will now see two layers. One is the background layer and one is the new layer from your selection.
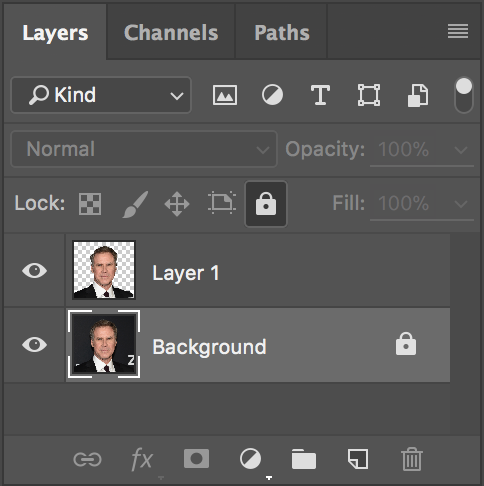
Next to the background layer click on the lock icon  to unlock the layer. Select the background layer then click on the trash can to delete the background layer.
Step 4: Liquify
Go to the menu Filter > Liquify to start distorting your image.
In the toolbar select the Forward Warp Tool  and try pushing the eyebrows up without afftecting the eyes.
You may need to adjust the brush size in the sidebar.
Select the Bloat Tool  and make the brush size slightly bigger than the eye. Click and hold on each eye to see what happens!
Select the Pucker Tool  and pucker the nose a little.
Using the Forward Warp Tool, Bloat Tool, and Pucker Tool try adjusting all parts of your face.
Click OK to apply these changes in the liquify screen.
Step 5: Skin color
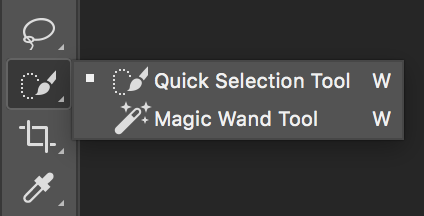
In the toolbar click and hold on the Quick Selection Tool and from the pop-up menu select the Magic Wand. 
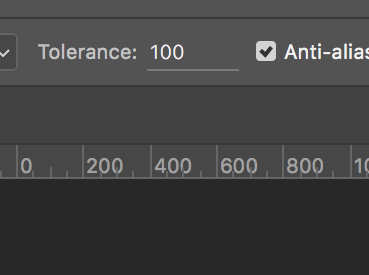
In the settings bar at the top, set the tolerance to 100.
Click on the forehead to select all connected areas of the same color.
If necessary, select Add to Selection in the menu bar.
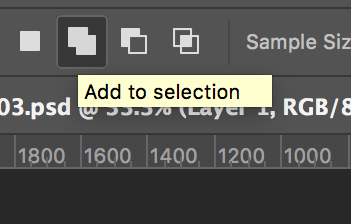
Then click on an area that has not been selected yet.
Go to Image > Adjustments > Hue/Saturation.
Then drag the Hue marker back and forth to see your skin change colors.
Click OK to apply these changes.
Step 6: Export and upload
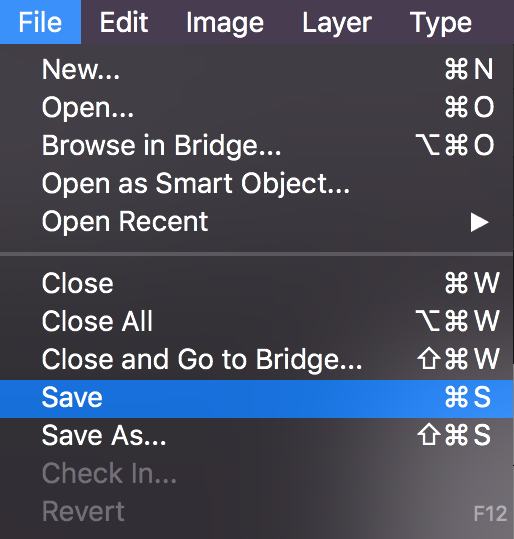
Save your project by going to File > Save. Give it the name 03.psd.
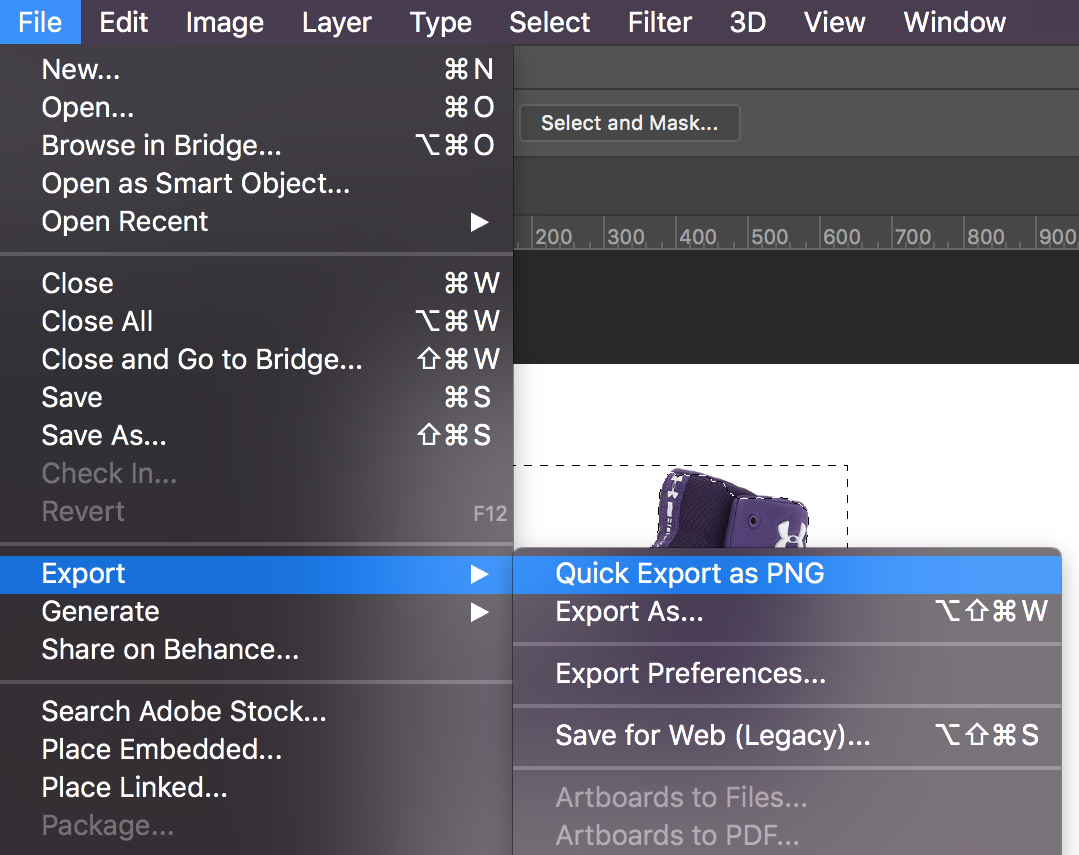
Export the image as a PNG by going to the menu item File > Export > Quick Export as PNG. Give it the name 03.png.