Mr. Brault
Follow these tutorials
Photoshop 06: Herald Banner
Purpose
In this tutorial you will create a poster advertising the new creature you created in Tutorial 05.
By the end of this project you should have an understanding of:
- How to use the Burn tool
- How to adjust canvas size
- How to use the Pattern Stamp tool
- How to use different blending modes
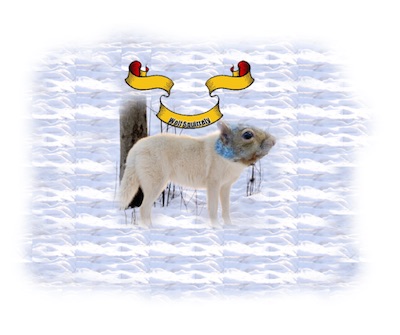
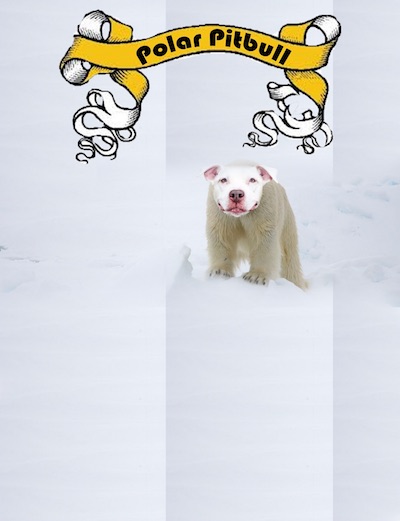
Examples of Student Work:

Step 1: Open project
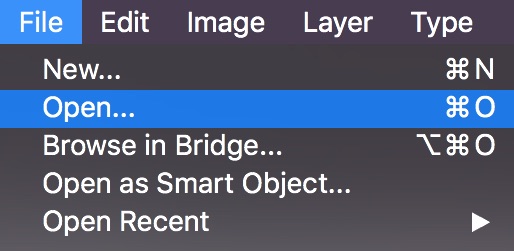
Open Photoshop and open your Photoshop project from tutorial 05.
Then go to Image > Canvas Size and set your canvas to 8.5 x 11 inches.
Step 2: Resize
In the layers panel, select all layers that are part of your creature by clicking on one layer and holding down the CTRL key, then click on the Group button  to create a group from those layers.
Double-click on the group name to rename it and set the name to creature.
With the group selected, transform the creature image to be the full width of the page.
Step 3: Background
Select the Rectangular Marquee Tool  and drag to select an area of the background that has a repeating pattern. Try to select as large an area as possible while still maintaining that repeating pattern area.
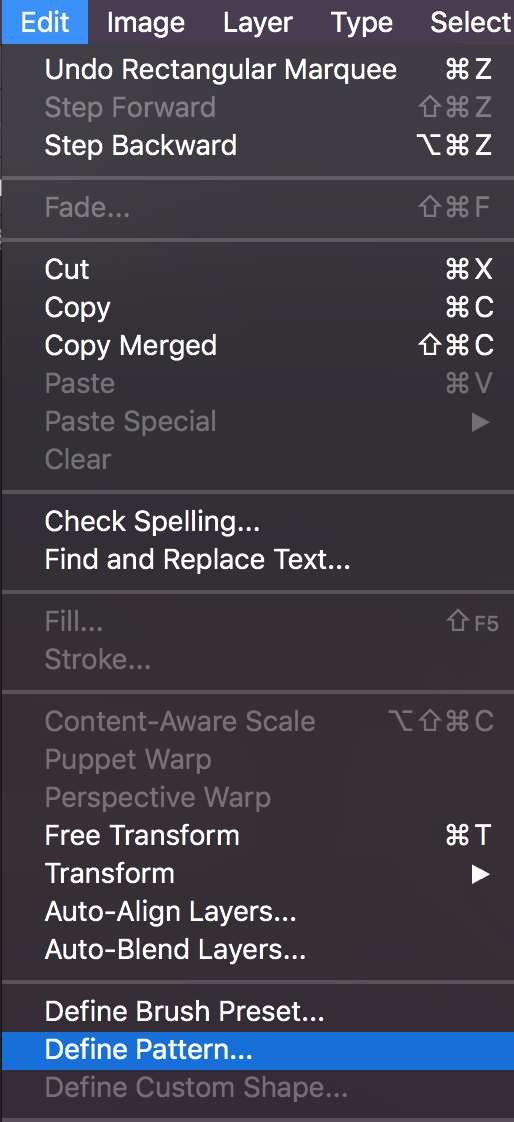
Go to Edit > Define pattern and give the pattern a name you will recognize.
Make sure you de-select the selection you made by pressing CTRL + D.
In the layers panel, click the New Layer button. 
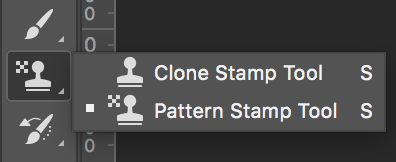
Select the Pattern Stamp Tool.  It may be behind the Clone Stamp Tool.
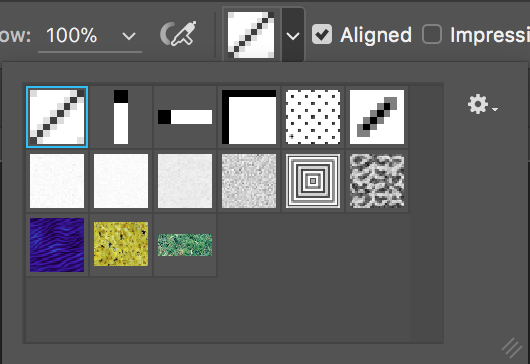
Now open the Pattern Picker and select the pattern you just created.
Choose the soft round brush and set the diameter to 500px.
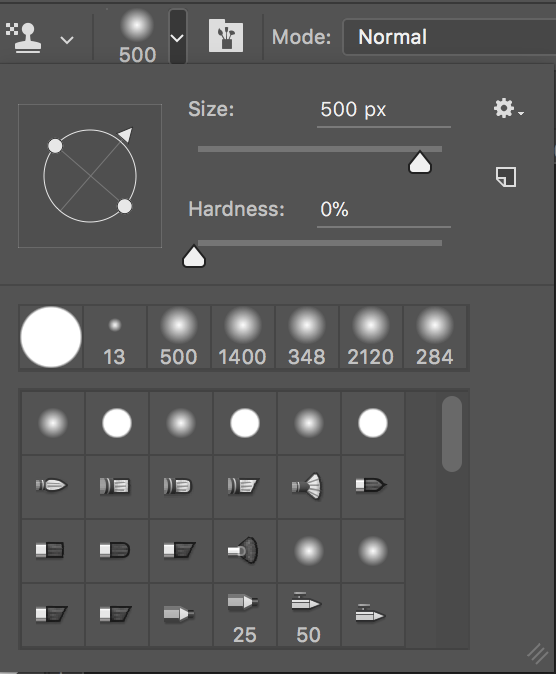
Now apply that pattern over the background by dragging across the image to cover the empty space and blend into the rest of the image.
Step 4: Add your assets
Open Chrome and do a Google image search for a Heraldric Banner graphic. When you found the one you want, right-click and copy the image.
Switch back to Photoshop and paste in your banner by going to Edit > Paste.
Using the Magic Wand, Quick Select Tool, the Eraser Tool, or all 3, to delete what you don't need.
Use the transform tool the creature image to be the full width of the page.
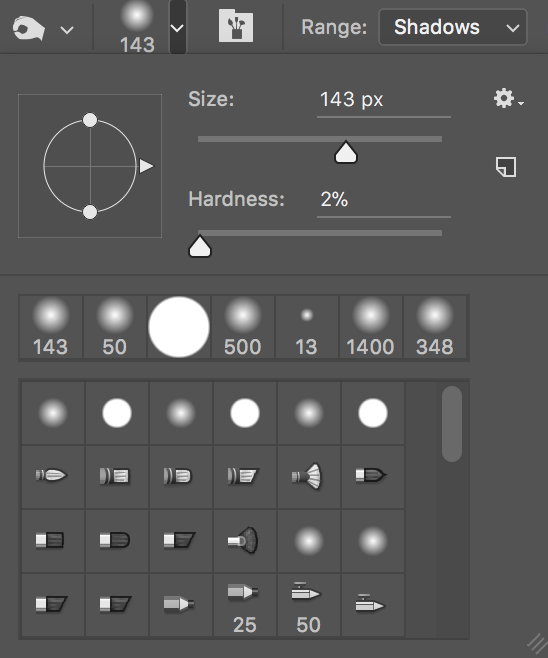
Step 5: Burn Tool
Next, get the Burn Tool from the toolbar. It may be behind the Dodge Tool
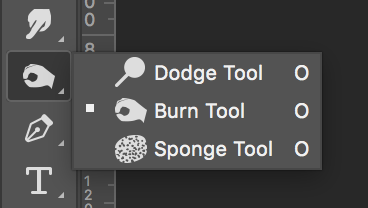
Try applying the burn effect to the banner.
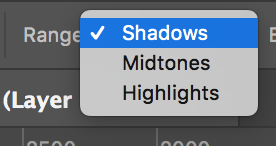
Swap the range from Shadows to Midtones to Highlights until you find what works.
Try turning off Protect Tones.

Try expirementing with different brush styles and sizes.
Raise and lower the Exposure as needed.
Step 6: Text
Get the Text Tool and type some text advertising your creature.
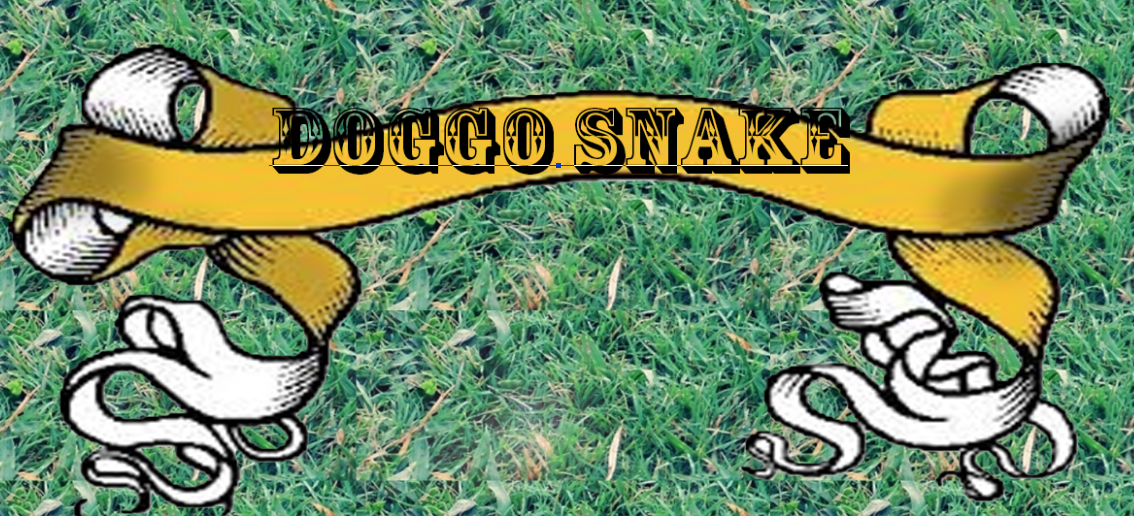
Warp your text by clicking on the Create warped text button in the settings bar. Style it to your liking. Click OK when finished.

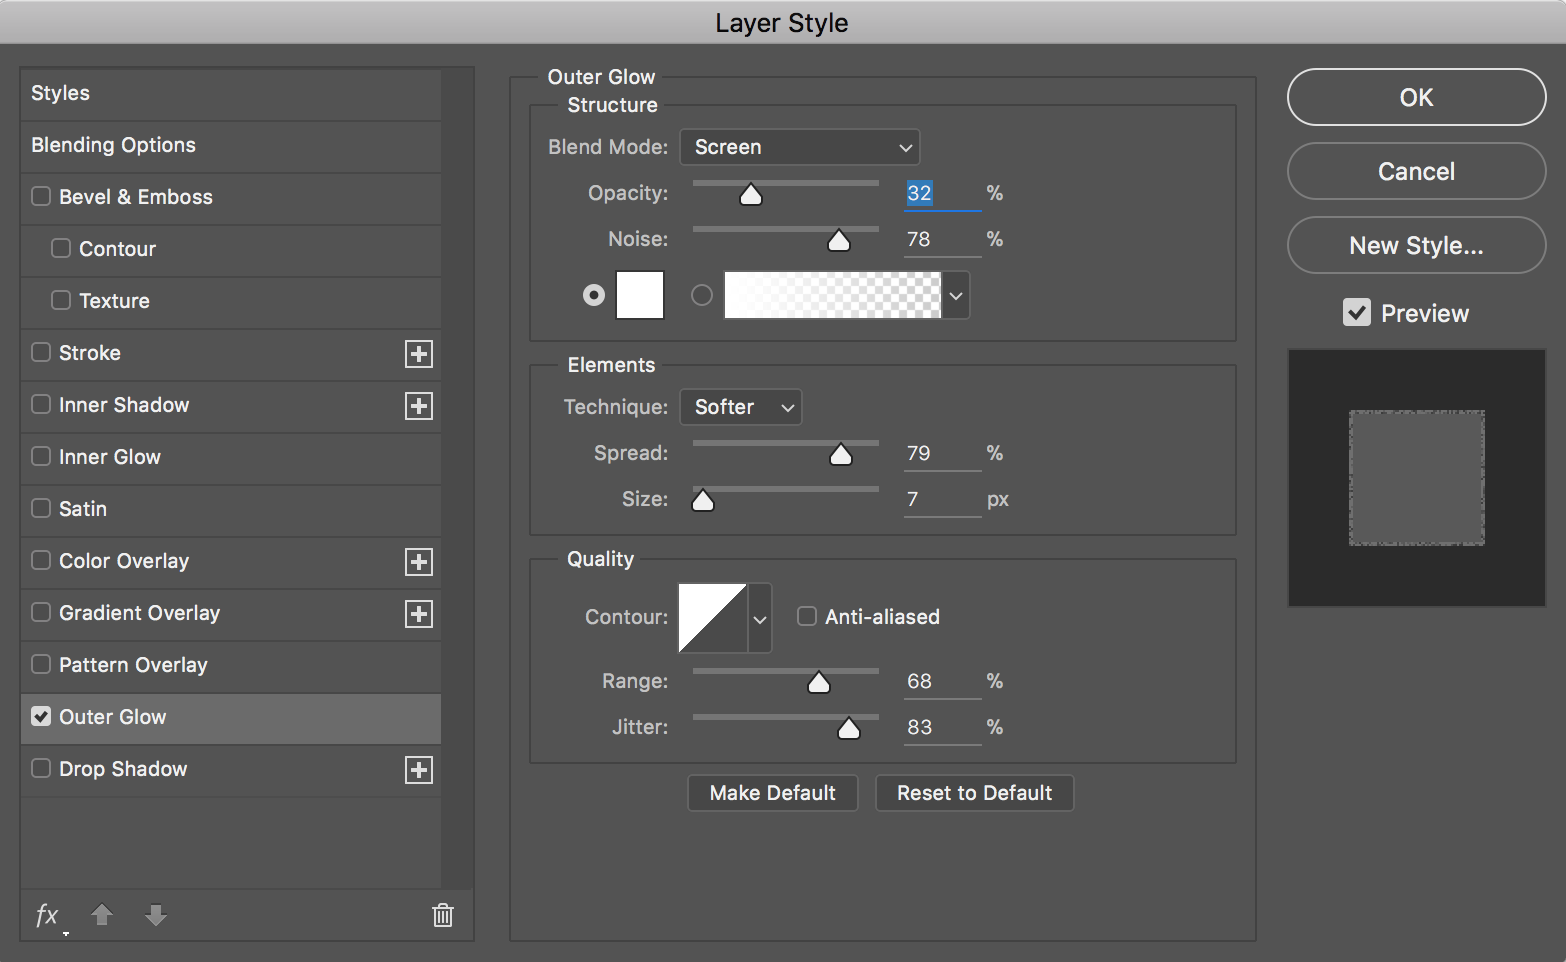
Then go to Layer > Layer Style > Outer Glow and add a glow to your text. Raise the size and spread of the glow so you can see the text clearly.
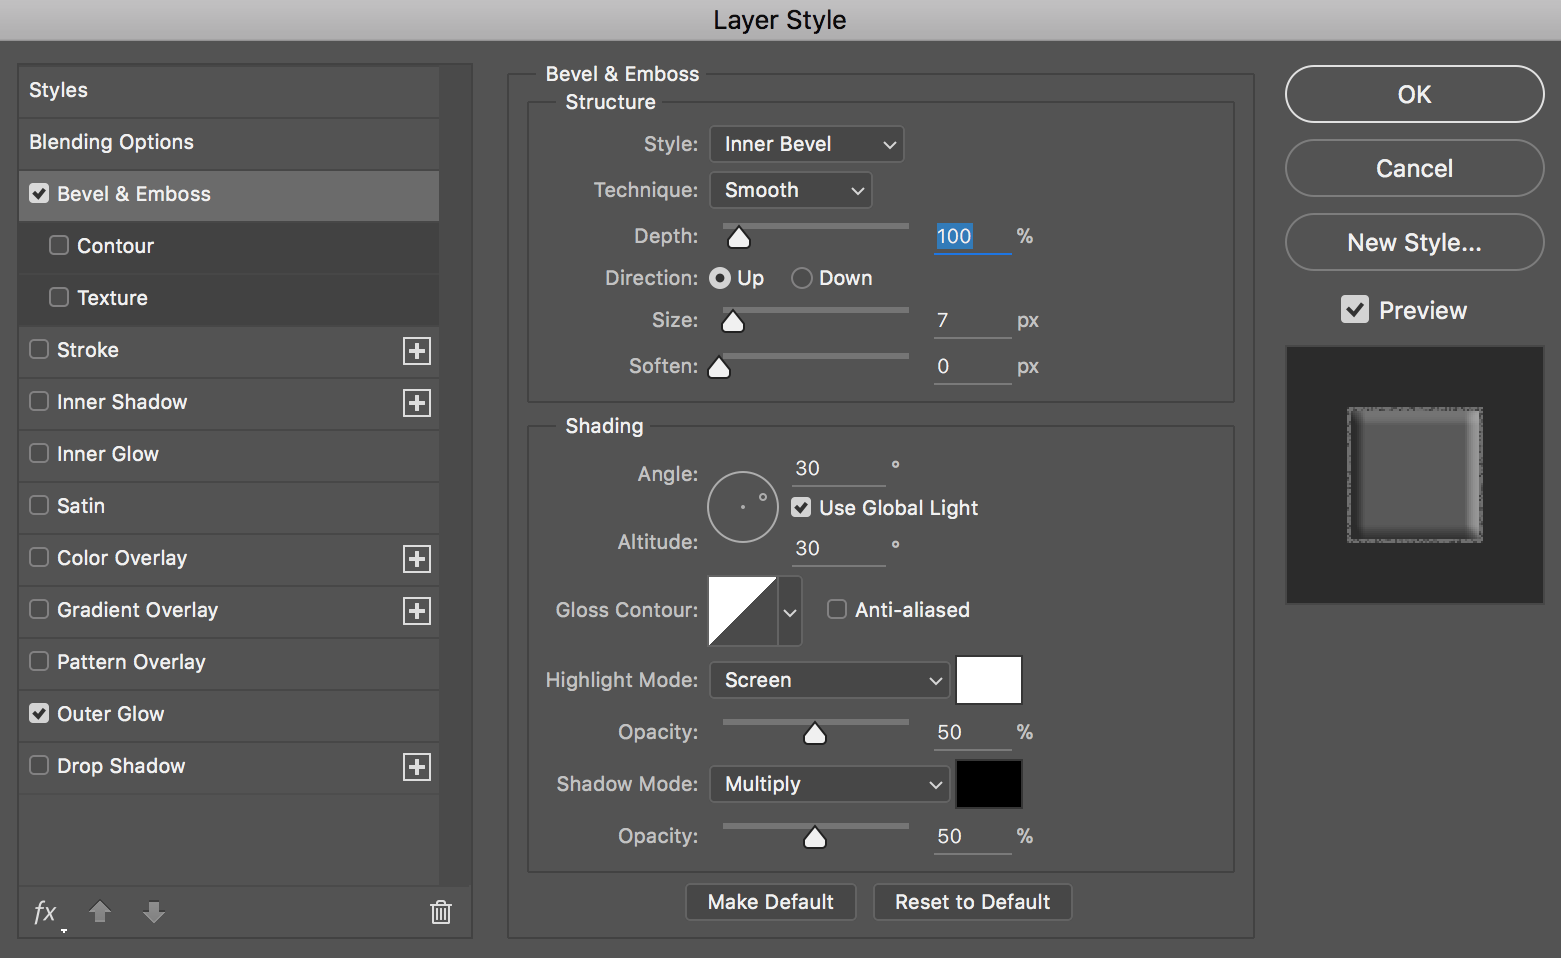
Then click on the Bevel and Emboss tab and adjust the settings to make your text contrast against the background
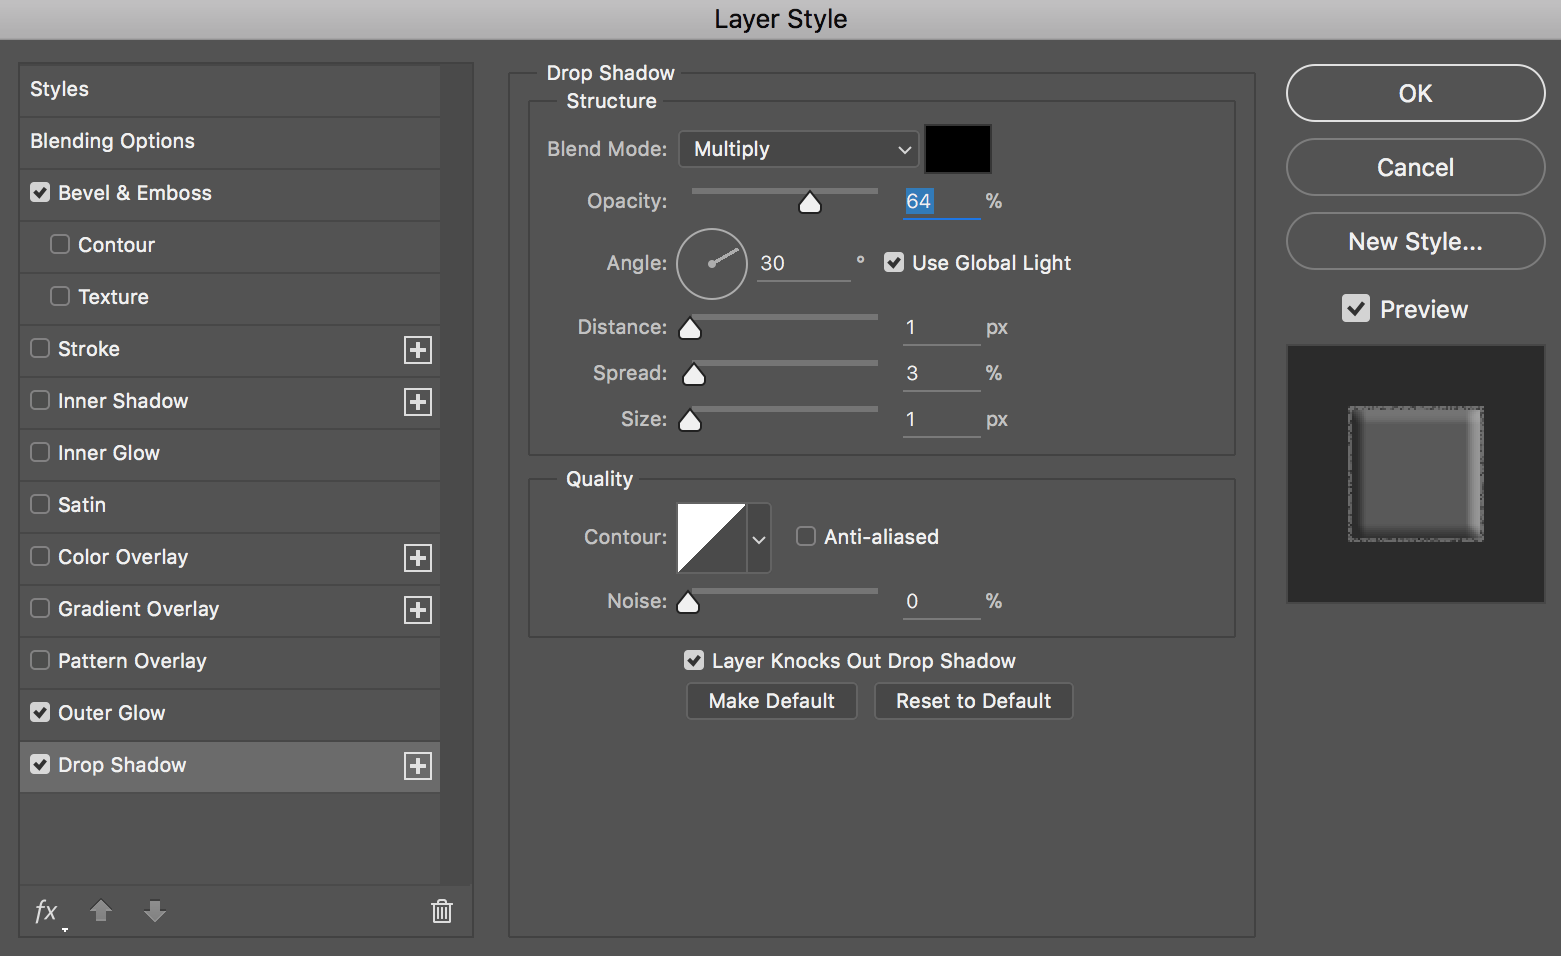
Add a little Drop Shadow and adjust the angle of the shadow.
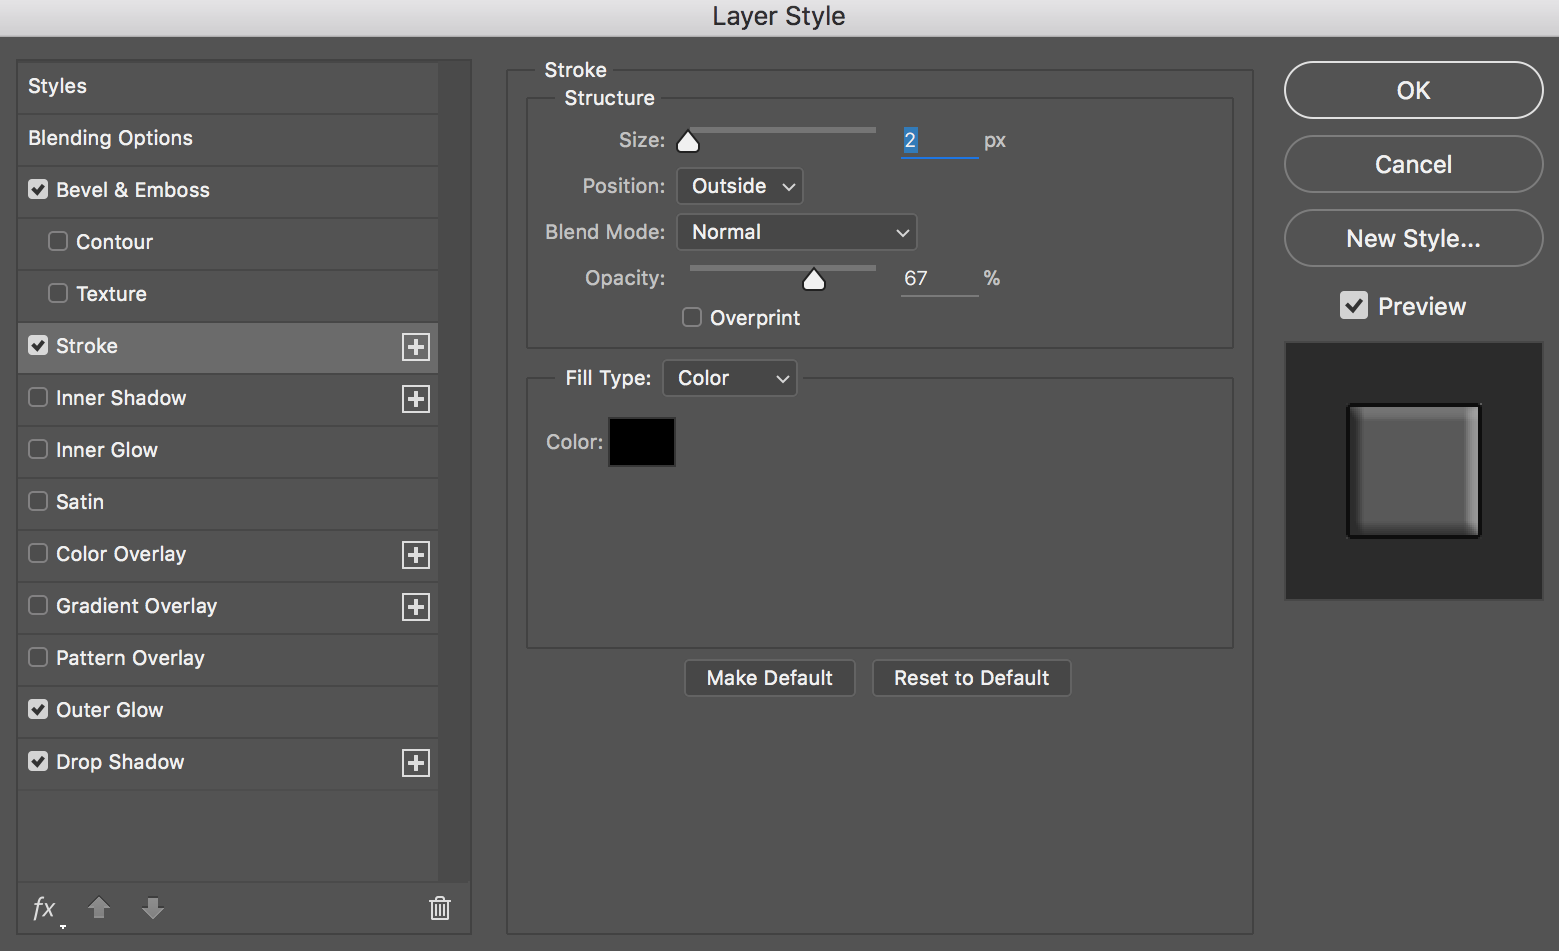
Lastly, add Stroke and adjust the width and color to your preference. The goal is to make the text contrast against the background.
Step 7: Export and upload
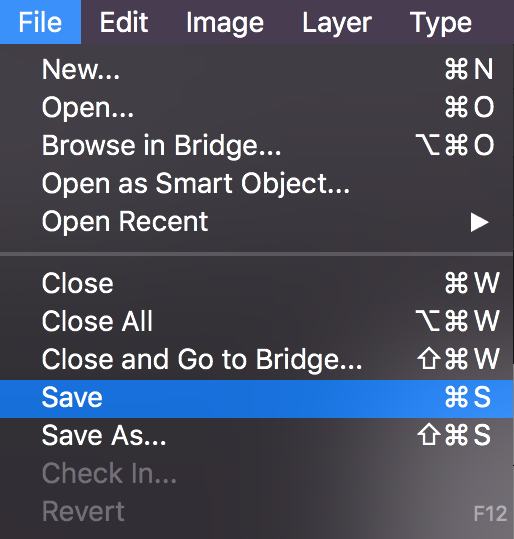
Save your project by going to File > Save as. Give it the name 06.psd.
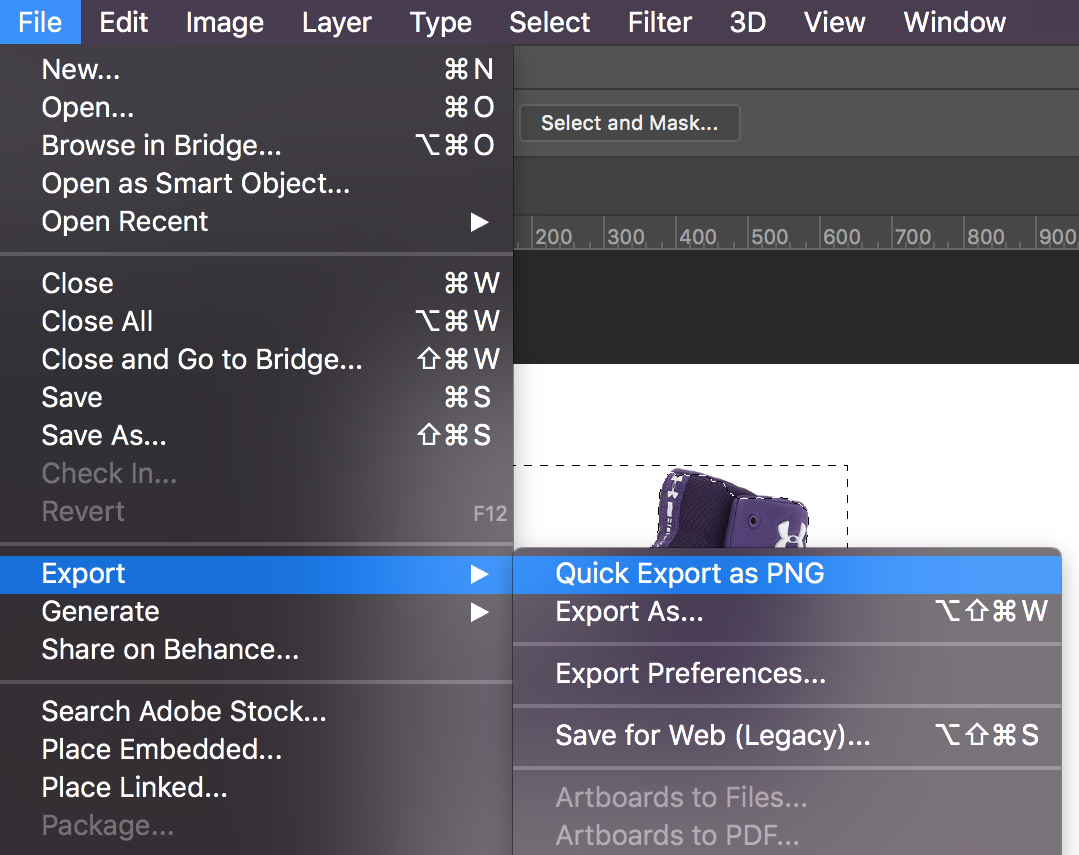
Export the image as a PNG by going to the menu item File > Export > Quick Export as PNG. Give it the name 06.png.