Mr. Brault
Follow these tutorials
Photoshop 08: Pen Tool
Purpose
In this tutorial you will learn and practice with using the pen tool and filling in vector shapes.
By the end of this project you should have an understanding of:
- How to use the Pen tool to create lines and shapes
- How to adjust Pen settings
- How to use the Paint Bucket tool
Step 1: Create your document
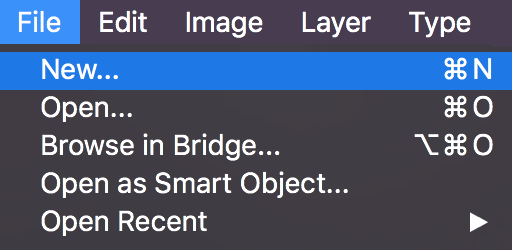
Open Photoshop and create a new canvas by pressing CTRL + N or go to File > New.
Set your canvas to 8.5 x 11 inches with a resolution of 300 pixels per inch.
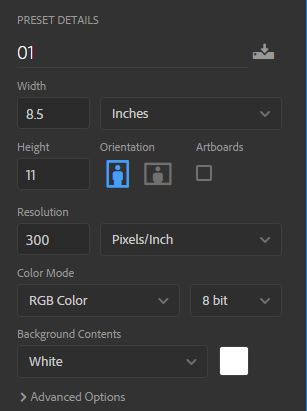
Click Create when your settings are configured correctly.
Step 2: Using the pen
Open the file in Photoshop by double-clicking it. Click on the Pen Tool.  Then go to the settings bar and make sure your Pen is set to shape, has a fill of no color, has a stroke color set, and has a width of 3px.

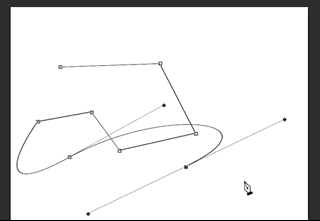
The Pen tool can create straight lines or curves. You can create straight lines by clicking at different points to connect the dots.

You can create curves by clicking and dragging out from one point in the opposite direction that you want that curve to point. You will see that the curve's shape changes but direction that the curve points is consistent.
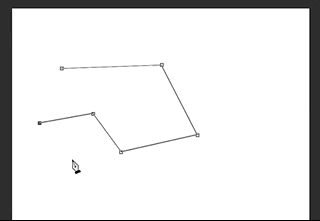
Try clicking again after creating your first curve. You will see that the next shape is a curve as well.
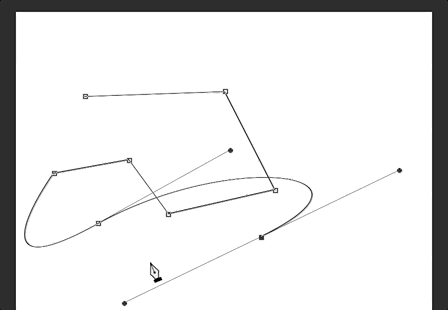
To end a curve and go back to creating straight lines, hold down the ALT key while clicking at the point that you want to end the curve.
Close this document and don't bother saving.
Step 3: Download File
Click the link to download each of the following Photoshop files. These files will guide you through the process of learning the Pen Tool
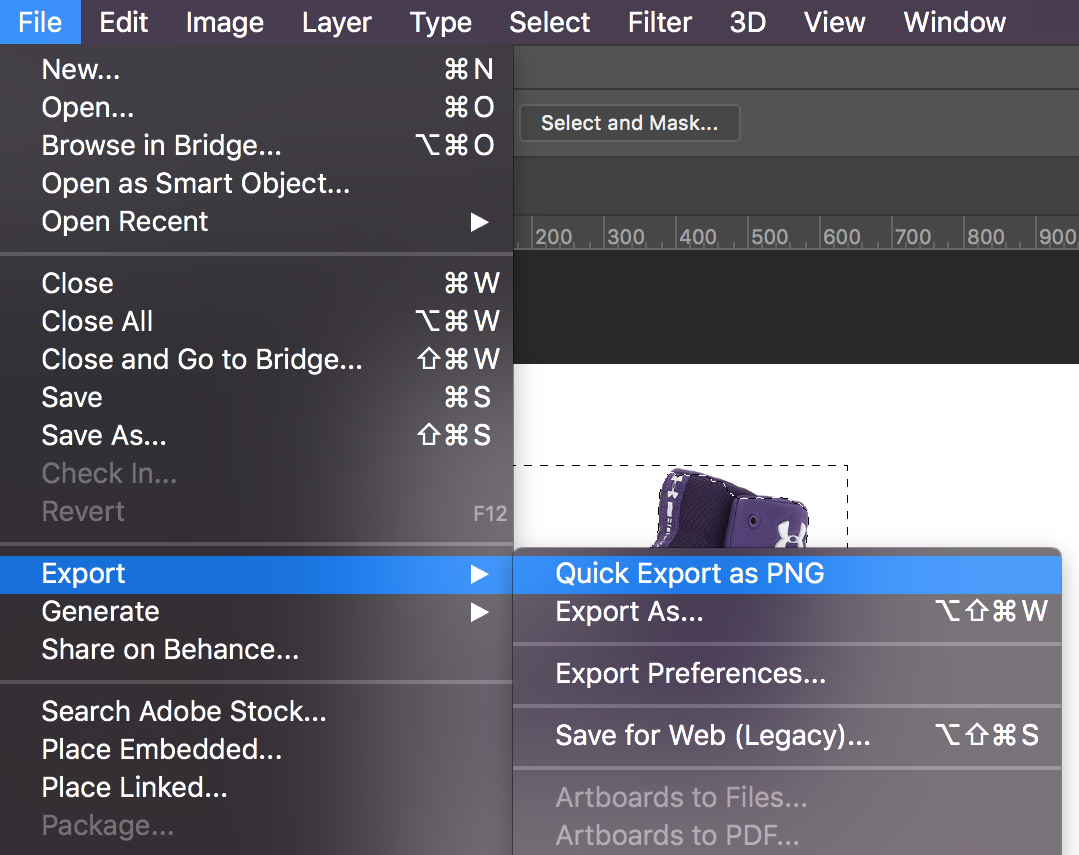
Step 4: Export and upload
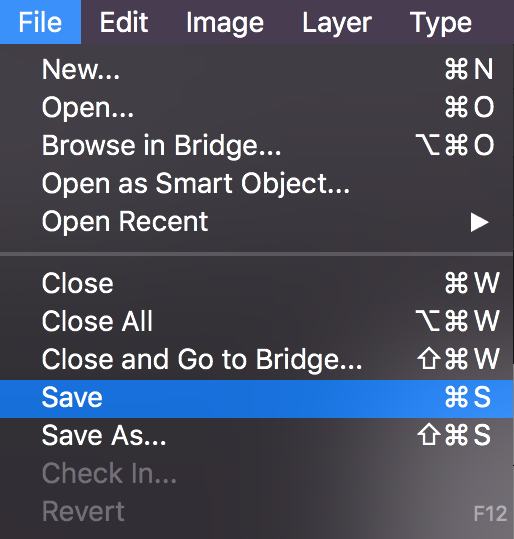
Save your project by going to File > Save.
Export the image as a PNG by going to the menu item File > Export > Quick Export as PNG. Give it the name pen1.png. or whatever number this pen tool tutorial is.